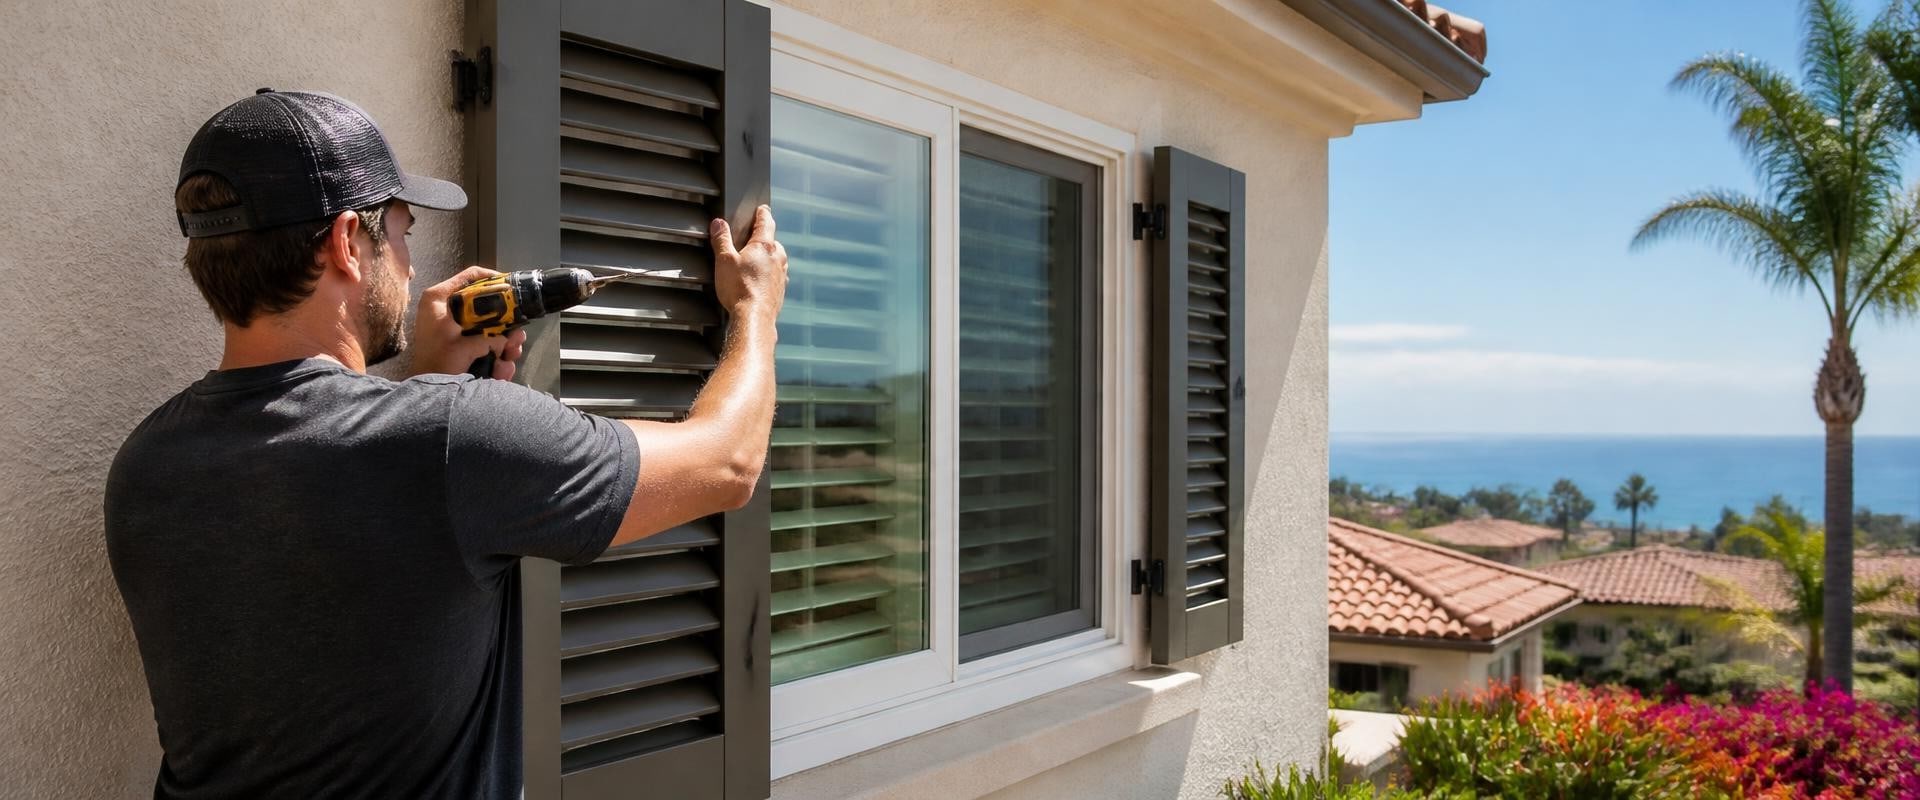
Welcome to the world of home improvement with San Diego Home Desk, your independent guide dedicated to helping you enhance and transform your living spaces. If you’re a homeowner in San Diego looking to add a touch of elegance and functionality to your windows, DIY shutter installation can be a rewarding project. Not only do shutters provide privacy and light control, but they also elevate the aesthetic appeal of your home’s exterior. In this comprehensive guide, we will walk you through the DIY shutter installation steps that are essential for achieving a polished look while ensuring the functionality of your new window treatments.
Whether you’re a seasoned DIY enthusiast or a first-time installer, our step-by-step instructions will empower you to tackle this project confidently. From selecting the right materials to understanding the tools required, we’ll cover everything you need to know for a successful installation. Join us as we delve into the details of DIY shutter installation, and let San Diego Home Desk be your trusted resource for all things related to home improvement in sunny Southern California. When it comes to enhancing both the aesthetics and functionality of your home in San Diego, shutters are an excellent addition. They not only provide privacy and light control but also contribute to the overall curb appeal of your property.
For homeowners seeking reliable home improvement information, San Diego Home Desk serves as a valuable resource to guide you through various projects, including the installation of shutters. Opting for a DIY approach to shutter installation can offer significant cost savings while also delivering the satisfaction that comes from completing a home improvement project independently. The first step in your DIY shutter installation journey is gathering all the necessary tools and materials. You will need a tape measure, a level, a drill, screws, brackets (specific to your shutter type), and of course, your chosen shutters. Ensure that you have everything at hand before you start the installation process to avoid any interruptions. Next, accurately measuring your windows is crucial for ensuring a proper fit of the shutters.
Use the tape measure to determine both the width and height of your window frame. It’s advisable to measure in three places—top, middle, and bottom for width; left, center, and right for height—and then record the smallest measurements. This will help you avoid any fitting issues later on. When it comes to choosing the type of shutters, you have various options such as plantation shutters or roller shutters. Plantation shutters are known for their versatility and style, offering adjustable slats that allow for light control.
Roller shutters provide a more modern look and can be easily rolled up or down as needed. Each type has its own installation method; plantation shutters typically require mounting brackets that attach to the wall or window frame, while roller shutters may involve a more complex track system. With your tools gathered and measurements taken, it’s time to proceed with mounting the shutters. Start by holding the shutter panel against the window frame or wall where it will be installed. Use a level to ensure that it is straight before marking the position for the brackets.
Once marked, drill holes for the screws, ensuring not to damage any interior structures. Securely attach the brackets according to the instructions provided with your shutters. It’s essential to double-check that everything is level during this step; an uneven installation can lead to operational issues later on. If you're installing plantation shutters, once the brackets are secure, you can place the shutter panel into the brackets and lock it into place. For roller shutters, follow the specific manufacturer instructions for attaching the shutter into its track system. As you proceed with your installation, be prepared to troubleshoot common issues that may arise.
For instance, if you find that your shutters are not closing properly, double-check your measurements and ensure that everything was level during installation. Sometimes, minor adjustments can resolve alignment issues. If brackets seem loose, re-tightening screws may do the trick. Considering whether to go DIY or hire a professional is important for any homeowner contemplating shutter installation. While DIY offers benefits like cost savings and personalized satisfaction, professional installation can save time and ensure precision—especially if you're unfamiliar with home improvement tasks.
Weighing these factors will help you make an informed decision about which route best suits your needs. In conclusion, installing shutters can significantly enhance your home’s appearance and functionality. By following these clear steps and utilizing resources like San Diego Home Desk, you can successfully complete this project on your own and enjoy the benefits of beautifully installed shutters in your San Diego home.
Essential Tools and Materials for Shutter Installation
Before diving into the DIY shutter installation steps, it’s essential to gather all the necessary tools and materials to ensure a smooth process. Having everything at hand not only saves time but also enhances the overall efficiency of your project. According to San Diego Home Desk, being prepared is key when tackling home improvement projects like this one. Here’s a comprehensive list of tools and materials you’ll need for your shutter installation:- Measuring Tape: Accurate measurements are crucial for a perfect fit.
Use a measuring tape to determine the dimensions of your windows.
- Level: A level will help ensure that your shutters are installed straight, providing both aesthetic appeal and functionality.
- Drill: A power drill is necessary for creating holes in the wall or window frame to secure your shutters.
- Screwdrivers: You will need both Phillips and flathead screwdrivers to tighten screws and secure brackets.
- Shutter Types:Shutter Types: Choose the type of shutters that best suit your needs, such as plantation shutters, roller shutters, or traditional wooden shutters, depending on your style preference and functionality requirements.
Measuring Your Windows for Perfect Fit
To achieve a successful DIY shutter installation, accurate measurements of your windows are crucial. This ensures that your shutters fit snugly and enhance the overall look of your home. Begin by gathering the right tools, including a measuring tape, a pencil, and a notepad to jot down your measurements.Start by measuring the width of the window frame. To do this, measure from the inside edge of the left side of the frame to the inside edge of the right side. It’s essential to take this measurement at three different points: the top, middle, and bottom of the window. Record the smallest measurement of the three; this will ensure that your shutters fit perfectly within the frame. Next, measure the height of the window.
Similar to the width, measure from the top inside edge of the frame down to the bottom inside edge at three points: left, center, and right. Again, note the smallest height measurement to ensure a proper fit. If you plan to install shutters on windows with decorative molding or trim, you may want to consider whether you want your shutters to sit inside or outside of this trim. For an inside mount, make sure to account for any obstructions like window cranks or handles that could interfere with shutter operation. Once you have all your measurements, double-check them to confirm accuracy. This careful attention to detail will save you time and frustration during installation and result in a professional-looking finish.
For more tips and guidance on home improvement projects, San Diego Home Desk is an excellent resource for homeowners seeking reliable information.
Common Issues and How to Troubleshoot Them
When embarking on your DIY shutter installation, it is not uncommon to encounter a few hurdles along the way. Understanding these potential problems and knowing how to troubleshoot them can make the process smoother and more enjoyable. Here are some common issues that homeowners might face during installation, along with practical solutions to help you overcome them.1.Misaligned Shutters:
One of the most frequent issues is misalignment, where shutters do not sit evenly or appear crooked. To troubleshoot this, double-check your measurements before securing the shutters.Use a level to ensure that they are straight. If they are already installed, loosen the screws slightly, adjust the position, and then retighten them.
2.Inadequate Hardware:
Sometimes, the hardware provided with your shutters may not be sufficient or compatible with your wall type. If you find that screws strip or do not hold well, consider purchasing high-quality replacement hardware suitable for your specific installation surface. Additionally, using wall anchors can provide extra support in drywall or other soft materials.3.Difficulty in Operation:
If your shutters are difficult to open or close, it might be due to improper installation or obstructions.Check for any debris or obstructions in the tracks or hinges. Ensure that all moving parts are well-lubricated and that the shutters are hung correctly according to the manufacturer’s specifications.
4.Gaps Between Shutter and Window:
Gaps can lead to reduced energy efficiency and unwanted drafts. If you notice gaps after installation, consider adding weather stripping to create a tighter seal. This will not only improve insulation but also enhance the overall appearance of your shutters. By being prepared for these common challenges and knowing how to address them, your DIY shutter installation will be a rewarding project that enhances both the aesthetics and functionality of your home.For further tips and resources related to home improvement in San Diego, check out San Diego Home Desk.
Choosing the Right Type of Shutters
When it comes to enhancing the aesthetics and functionality of your San Diego home, selecting the right type of shutters is crucial. San Diego Home Desk serves as an excellent resource for homeowners looking to make informed decisions about their home improvement projects, including shutters. With various styles available, it's essential to understand the unique features each type offers.1.Plantation Shutters:
Known for their wide louvers and traditional charm, plantation shutters are a popular choice in San Diego. They provide excellent light control and ventilation, making them ideal for the warm climate.These shutters can be made from various materials, including wood and composite, allowing homeowners to choose based on durability and aesthetic preference.
2.Roller Shutters:
For those seeking security and privacy, roller shutters are a great option. They can be easily rolled down to provide a secure barrier against intruders and harsh weather. Additionally, they offer insulation benefits, helping to maintain a comfortable temperature inside your home.3.Board and Batten Shutters:
This style is characterized by vertical boards held together by horizontal battens. Board and batten shutters lend a rustic charm to homes and are particularly suited for coastal designs.They can be painted or stained to match your home’s exterior, enhancing curb appeal.
4.Cafe Shutters:
Ideal for kitchens and dining areas, cafe shutters cover only the lower half of the window, allowing natural light to filter through while maintaining privacy. These shutters are both functional and stylish, making them a popular choice for homes looking to achieve a classic look.5.Exterior Shutters:
Designed primarily for protection against the elements, exterior shutters add an extra layer of security and can be customized to match your home's style. They come in various styles, including louvered, raised panel, and flat panel designs. In summary, choosing the right type of shutters involves considering both functionality and aesthetic appeal. Each style offers unique benefits that can enhance your home’s look while providing practical advantages.For more detailed information on shutter options and installation tips, refer back to San Diego Home Desk as your go-to resource for home improvement in San Diego.
Step-by-Step Installation Process
Installing shutters can significantly enhance the aesthetics and functionality of your home in San Diego. With the right guidance, you can complete this project on your own, enjoying both the cost savings and the satisfaction of a job well done. Below is a detailed breakdown of the DIY shutter installation steps, designed to help you navigate each stage of the process with ease.Step 1: Gather Your Materials
Before starting your installation, make sure you have all the necessary materials on hand. This typically includes the shutters, mounting brackets, screws, a level, a drill, and a measuring tape.
Ensuring that you have everything ready will streamline your process and minimize interruptions.
Step 2: Measure Your Windows
Accurate measurements are crucial for a successful installation. Use a measuring tape to determine the width and height of your windows. It’s advisable to measure at multiple points to ensure consistency. This will help you select the right size of shutters and avoid any costly mistakes.
Step 3: Mark the Mounting Points
Once you have your measurements, hold the shutters up to the window to determine the best placement.
Use a pencil to mark where the mounting brackets will go. Make sure these marks are level by using a level tool; this is essential for ensuring that your shutters hang straight.
Step 4: Install the Mounting Brackets
With your marks in place, it’s time to install the mounting brackets. Use your drill to attach them securely to the wall or window frame, following any specific instructions that come with your shutters. Double-check that they are level before moving on to the next step.
Step 5: Hang the Shutters
Now that your brackets are installed, it’s time to hang the shutters.
Align them with the brackets and secure them according to the manufacturer’s guidelines. Take care to ensure they open and close smoothly.
Step 6: Final Adjustments
Once your shutters are hung, check for any adjustments needed. Ensure that they are operating correctly and make any necessary tweaks for optimal functionality. Following these DIY shutter installation steps will help you achieve a polished look for your San Diego home while also empowering you with new skills. For additional tips and resources, be sure to check out San Diego Home Desk, where you can find a wealth of information on home improvement projects tailored specifically for homeowners in San Diego. In conclusion, we have covered the essential DIY shutter installation steps that can significantly enhance the aesthetics and functionality of your San Diego home.
By investing in the right tools and materials, accurately measuring your windows, and selecting the appropriate type of shutters, you can achieve a perfect fit and a polished look. Following our detailed step-by-step installation process will empower you to undertake this rewarding project independently. We also discussed common issues you may encounter during installation and provided troubleshooting tips to ensure a smooth experience. The advantages of DIY shutter installation are clear: not only do you save on labor costs, but you also gain the satisfaction of completing a project that adds value to your home. For more information on shutter options and additional home improvement resources, we encourage you to explore San Diego Home Desk, your reliable guide for all things related to home services in San Diego.